Pro concrete Small cracks in concrete may seem harmless at first, but ignoring them can lead to costly repairs down the track. Whether it’s a driveway, patio, footpath, or concrete slab, even minor cracks can allow water, dirt, and weeds to enter, gradually turning a small issue into a major problem.
Having worked around residential concrete projects for years, I’ve seen countless homeowners postpone crack repairs because they appeared insignificant. Unfortunately, many of those hairline cracks eventually widened, leading to expensive restoration work that could have been avoided with early intervention.
Why Small Concrete Cracks Should Never Be Ignored
Concrete naturally expands and contracts due to temperature changes. In places like Adelaide, where hot summers are followed by cooler, wetter winters, this movement can cause small cracks to grow over time.
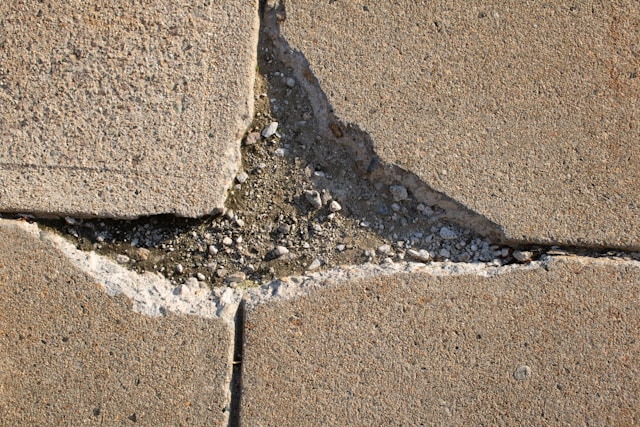
Once water enters a crack, it weakens the surrounding concrete and the base beneath it. Over time, this can result in larger structural cracks, uneven surfaces, and even sections of concrete lifting or sinking.
In my experience, addressing cracks while they’re still small is one of the simplest and most cost-effective forms of concrete maintenance.
Step 1: Inspect the Crack Carefully
Before beginning repairs, determine the size and severity of the crack. Hairline cracks and narrow surface cracks are usually suitable for DIY repairs. However, wider cracks or those showing signs of movement may require professional assessment.
Look for:
- Crack width and length
- Signs of sinking or lifting
- Water pooling nearby
- Multiple connected cracks
If the damage appears cosmetic, you can usually proceed with a repair.
Step 2: Clean the Crack Thoroughly
One mistake I often see is applying filler directly into a dirty crack. Dust, loose concrete, weeds, and debris prevent proper bonding.
Use a wire brush, pressure washer, or compressed air to remove loose material. The cleaner the crack, the stronger the repair will be.
Allow the area to dry completely before applying any repair products.
Step 3: Apply a Quality Crack Filler
For small cracks, a flexible concrete crack filler or polyurethane sealant is often the best solution. These products are designed to expand and contract with the concrete, reducing the chance of future cracking.
Carefully fill the crack according to the manufacturer’s instructions, ensuring the material reaches the full depth of the opening.
I’ve found that flexible fillers generally perform better than rigid patching compounds, especially in areas exposed to Adelaide’s seasonal temperature fluctuations.
Step 4: Smooth and Finish the Surface
Once the filler has been applied, smooth the surface using a putty knife or trowel. This creates a neat appearance and prevents water from collecting in low spots.
Allow sufficient curing time before walking or driving over the repaired area.
Step 5: Seal the Concrete
After repairing cracks, consider applying a quality concrete sealer to the entire surface. Sealing helps protect against moisture penetration, staining, UV damage, and future deterioration.
Many of the longest-lasting driveways I’ve seen have one thing in common: regular sealing and maintenance.
Preventing Future Cracks
While some cracking is natural, you can reduce future problems by:
- Keeping drainage away from concrete surfaces
- Repairing small cracks promptly
- Removing weeds from joints
- Applying sealers regularly
- Avoiding excessive loads on damaged areas
Final Thoughts
Small concrete cracks rarely stay small forever. In my experience, homeowners who repair cracks as soon as they appear save significant time and money in the long run. A simple repair today can prevent major structural damage tomorrow.
By cleaning the crack properly, using a quality filler, and maintaining your concrete regularly, you can extend the life of your driveway, patio, or footpath while keeping it looking its best for years to come.